A homemade cat scratcher does not need to look like a miniature cat tree or require advanced woodworking. The most useful design is one that matches how your cat already likes to scratch. Some cats stand tall against a vertical surface. Others dig their claws into cardboard on the floor, lean into an angled board, or switch between several positions throughout the day.
Save This Idea on Pinterest

12 DIY Cat Scratcher Ideas for Cardboard, Sisal, and Wood
Save to PinterestThese 12 DIY cat scratcher ideas use cardboard, sisal, wood, and other practical materials in different ways. Some can be refreshed when the scratching surface wears down, while others work as longer-lasting pieces of cat furniture.
Keep the finished project stable, remove damaged or loose material promptly, and keep your cat away from cutting, drilling, stapling, sanding, or gluing while you build.
Start by Matching the Scratcher to Your Cat
Before choosing a project, watch where your cat currently scratches. A cat that reaches high on a sofa arm may prefer a tall vertical post. A cat that works at a rug or flattened box may be more interested in a horizontal surface. Cats that scratch while stretching forward can be good candidates for an angled ramp.
Placement matters too. A well-made scratcher tucked into an unused room may get less attention than a modest cardboard pad beside a favorite sleeping area or near the furniture your cat already targets.
Make each project large enough for comfortable paw placement and stable enough that it does not slide or wobble during normal use. If you use adhesive, choose a pet-appropriate product suitable for the materials involved and allow it to cure completely according to its label before the scratcher becomes accessible.
Quick Cardboard Projects
Cardboard is useful when you want an inexpensive scratching surface that can be replaced rather than repaired. Corrugated cardboard works particularly well because the exposed edges create a textured surface for claws.
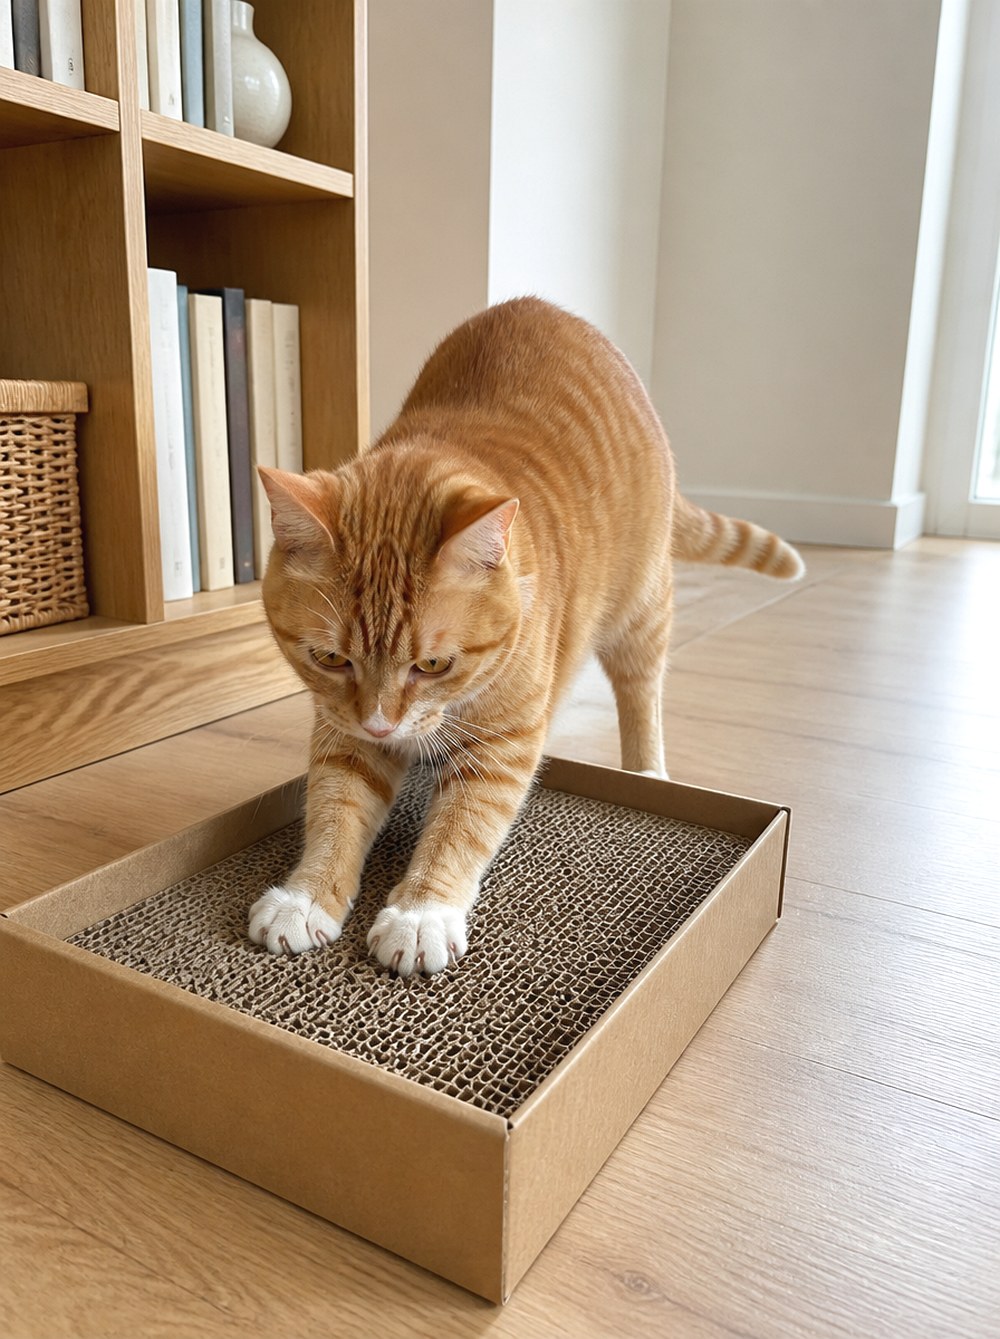
1. Layered Corrugated Cardboard Scratch Pad
Save clean corrugated shipping boxes and cut them into strips of equal width. Stand the strips on their corrugated edges, pack them tightly together, and secure the layers inside a shallow cardboard or unfinished wood tray.
A rectangular pad works well beside a cat bed, near a sunny window, or in a spot where your cat regularly stretches after resting. Make the scratching area broad enough that the cat can place all four paws comfortably without immediately stepping off the edge.
The replaceable center is the main advantage of this design. When the top becomes heavily shredded, you can replace the cardboard rather than discard the entire base.
Avoid cardboard contaminated by food, cleaners, oils, or other household substances. Trim away tape, labels, staples, and plastic before construction.

2. Refillable Cardboard Box Scratcher
Instead of building a separate frame, turn a sturdy low-sided box into the scratcher itself. Cut corrugated cardboard into snug sections and pack them vertically until the interior is firm.
Leave enough of the box wall to contain shredded cardboard without creating a deep enclosure. A low produce-style box or trimmed shipping box can work better than a tall box because the cat can step directly onto the scratching surface.
This version is useful for cats that already enjoy sitting inside boxes. It combines a familiar boundary with a horizontal scratching area and costs little to refresh.
If the outer box begins collapsing, replace it rather than reinforcing damaged sections with exposed tape.
You May Also Like


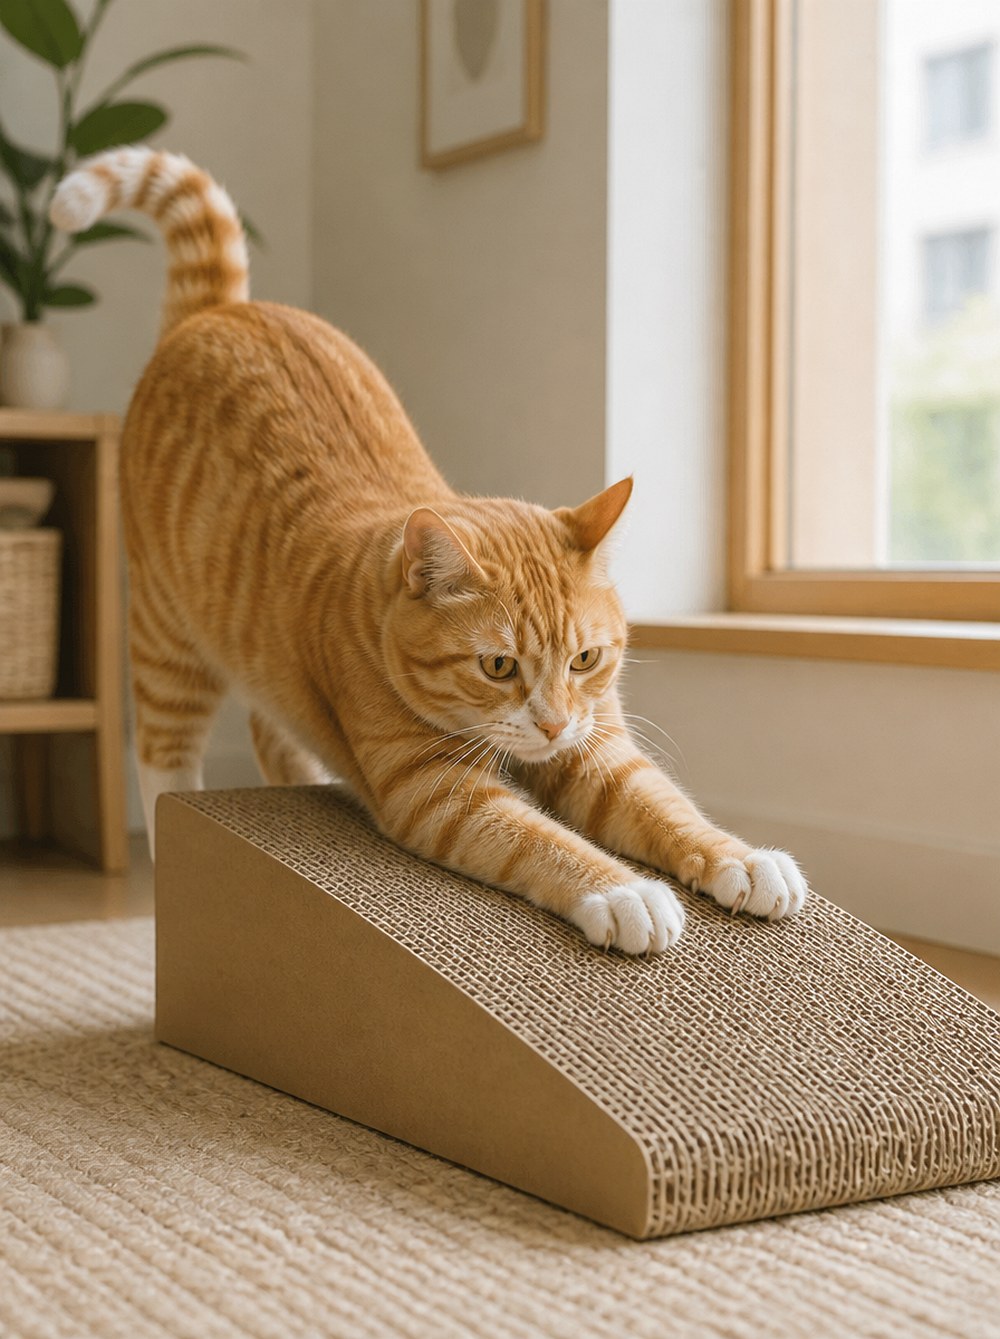
3. Angled Cardboard Scratch Ramp
A flat pad is not the only way to use corrugated cardboard. Build a low triangular support from sturdy doubled cardboard or a stable wood base, then attach a replaceable corrugated scratching panel to the slope.
The incline gives a cat room to pull backward through the shoulders while keeping the paws lower than they would be on a tall post. It can suit cats that ignore completely flat scratchers but do not consistently use vertical ones.
Keep the angle moderate and make the base longer than the elevated section so the ramp cannot easily tip toward the cat. If the cardboard support softens or bends with use, replace it.
Sisal Scratchers for Stronger Pulling
Tightly secured sisal gives cats a firmer surface than cardboard. The challenge is not merely wrapping rope around something—it is making the entire structure steady enough to resist repeated pulling.
4. Tall Sisal-Wrapped Wood Post
A classic vertical post becomes a worthwhile DIY project when the base receives as much attention as the scratching surface.
Attach a solid wood post to a broad, heavy base, then wrap the post tightly with untreated sisal rope. Each row should sit closely against the next so claws do not catch in large gaps. Secure the rope ends where the cat cannot reach exposed hardware.
Choose a post height that allows your cat to extend upward comfortably. If the cat can pull the top toward its body or rock the base during scratching, increase the stability before continuing to use it.
Place the post near a common scratching target at first rather than expecting the cat to search for it elsewhere.

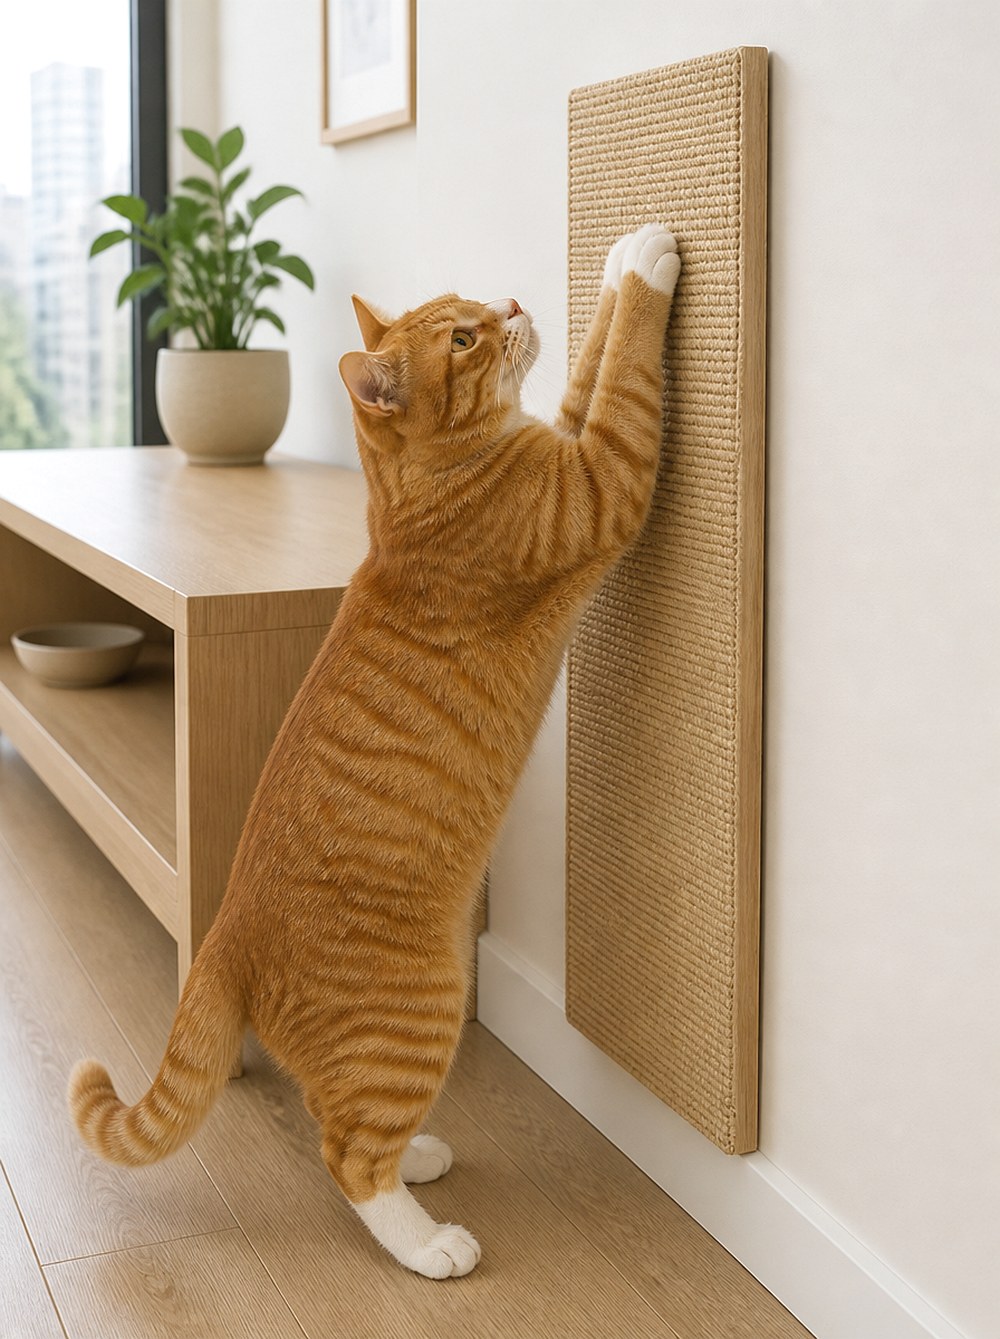
5. Wide Sisal Scratch Plank
Cats that enjoy vertical scratching do not always need a round post. A wide plank creates a flatter target and can fit neatly against a wall.
Use a smooth wood board as the structural backing and cover the scratching face with tightly fitted sisal fabric or closely wrapped sisal rope. Mount the finished panel securely so it cannot shift when the cat pulls downward.
A plank also allows you to position the scratch surface slightly above floor level without sacrificing usable height. Keep mounting hardware inaccessible, and avoid leaning an unsecured board against a wall.
6. Two-Sided Corner Scratcher
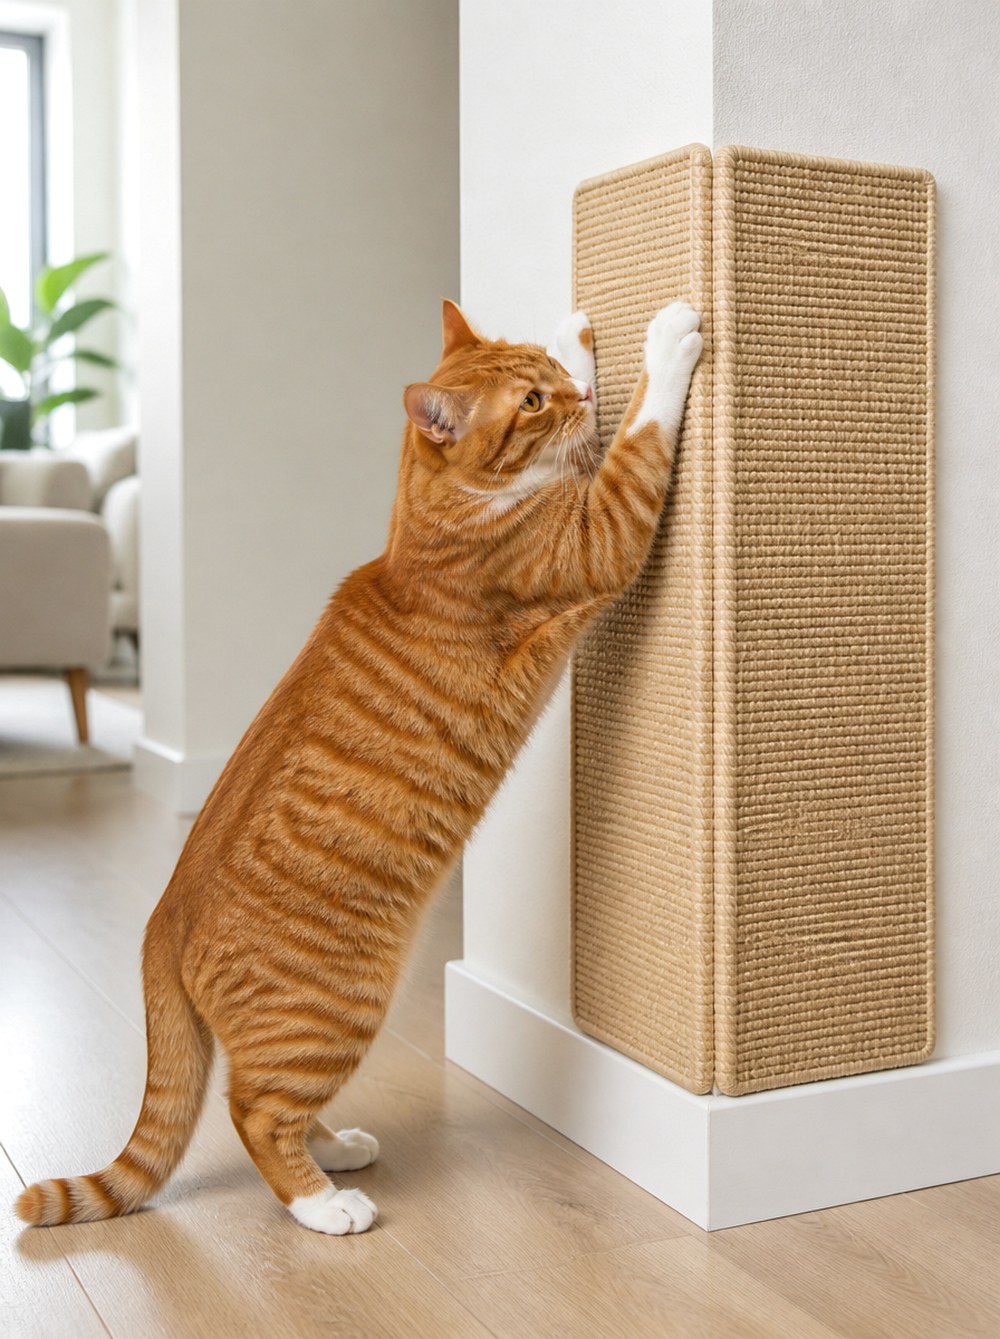
A room corner can become a useful scratching zone when two narrow sisal-covered boards meet at a right angle.
Mount one panel on each side of the corner at a height suited to your cat’s natural reach. The two surfaces allow the cat to approach from different directions without requiring a bulky freestanding structure.
This design can be especially practical near a corner the cat already scratches. It also makes worn panels replaceable without rebuilding the entire setup.
Both boards need secure attachment. Do not rely on light adhesive strips for a surface that will be repeatedly pulled by claws.
7. Framed Sisal Floor Mat
For a cat that consistently scratches rugs, keep the action horizontal but give it a dedicated surface.
Fit a piece of tightly woven sisal scratching material into a shallow wood frame. The frame prevents the edges from curling and gives you a way to add a nonslip backing underneath without placing loose material where the cat can chew it.
Position the mat where rug scratching commonly occurs, such as beside a sofa, doorway, or resting area. Choose a weave intended to withstand scratching rather than a decorative fabric with long loops that could catch claws.

Scratchers That Double as Cat Furniture
A larger DIY project can earn its floor space by serving more than one purpose. These designs combine scratching with a resting, stepping, or lounging surface without relying on dangling toys or decorative extras.
8. Low Scratch Bench
Build a short, sturdy wood bench with a broad top and wrap one long exterior side in sisal. The top remains a resting or stepping surface while the side becomes the scratching zone.
Keep the structure low enough to remain stable and smooth every exposed wood edge before assembly. A removable sisal panel makes future replacement easier than permanently wrapping the entire frame.
The bench can sit under a window or beside a sofa, giving the cat a useful destination rather than adding another standalone post to the middle of the room.

9. Scratch-and-Perch Cube
Construct a sturdy open-sided wood cube or box large enough for the cat to sit comfortably on top. Cover one exterior side with sisal and leave the remaining surfaces smooth.
This gives the cat two reasons to visit the same piece: the side provides a vertical scratching face, while the flat top creates a raised resting point.
The cube should stay planted when the cat jumps onto it or scratches the side. Use smooth edges, concealed fasteners, and a broad footprint. If you include an interior opening, make it comfortably sized with no sharp hardware or narrowing gaps that could trap a paw.

10. Removable Furniture-Leg Scratch Sleeve
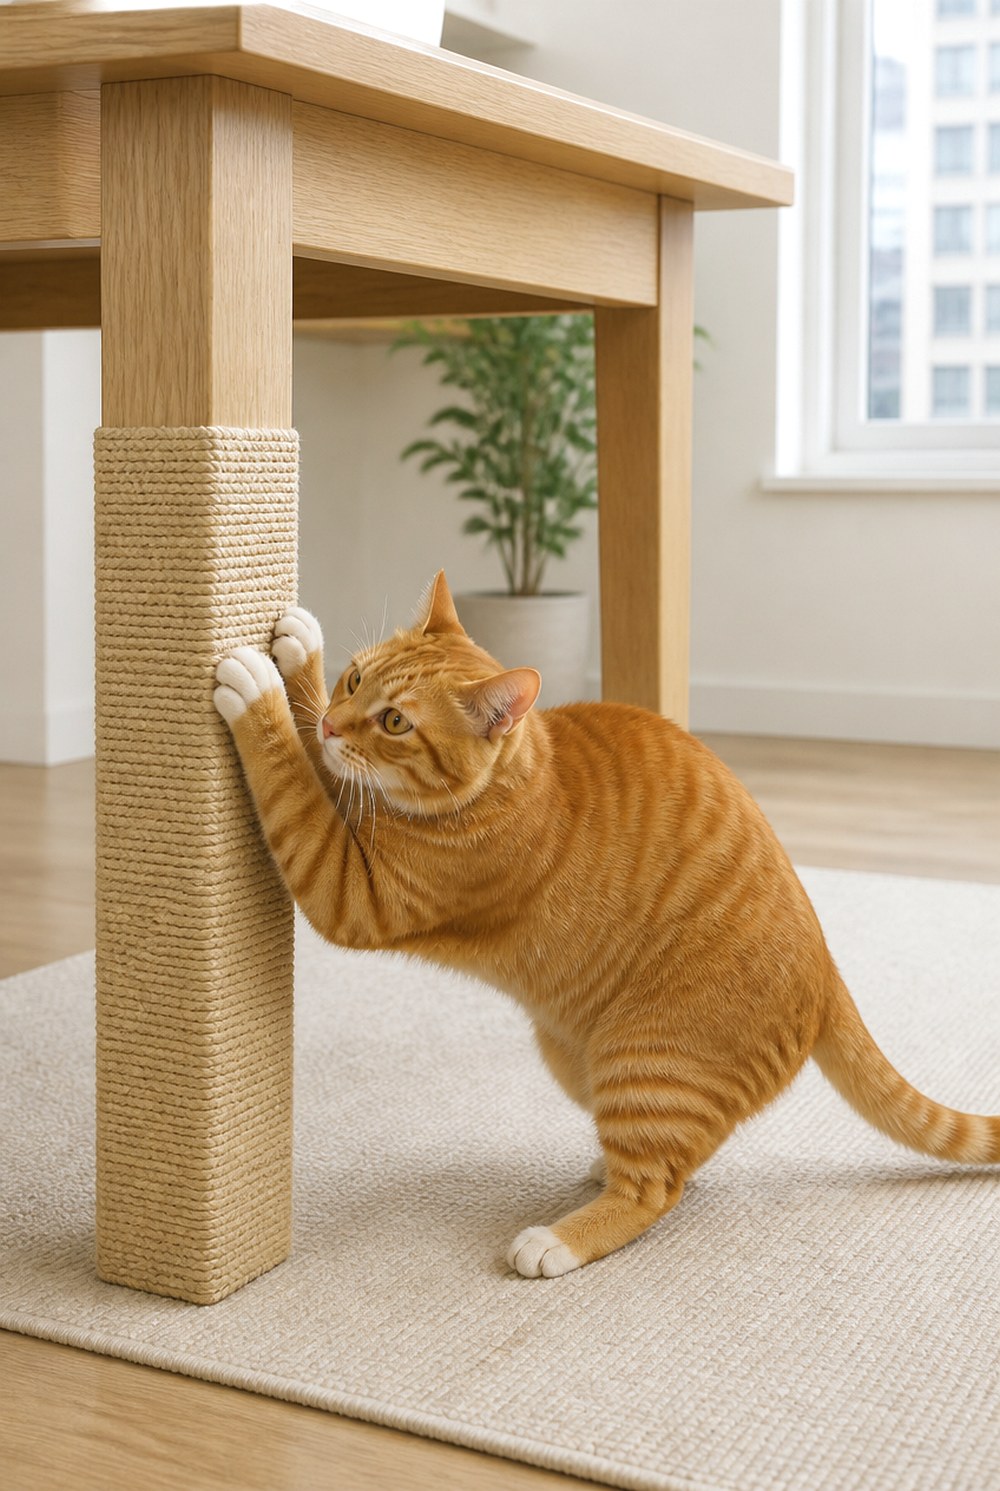
If your cat repeatedly targets a broad table or desk leg, you can give that location a replaceable scratching surface instead of trying to move the behavior across the room.
Build a rigid sleeve or guard that fits securely around the lower portion of the leg without damaging the furniture. Cover the outward-facing section with tightly secured sisal. The sleeve should not rotate, slide down, or leave ties and fasteners accessible.
This idea works best on sturdy furniture that cannot be destabilized by scratching. Do not attach a scratch surface to lightweight tables, folding furniture, or anything that could tip toward the cat.
Freestanding Designs for Cats That Change Positions
Some cats alternate between stretching up, leaning forward, and scratching near floor level. These structures offer more than one usable angle without requiring several separate scratchers.
11. Freestanding A-Frame Scratcher
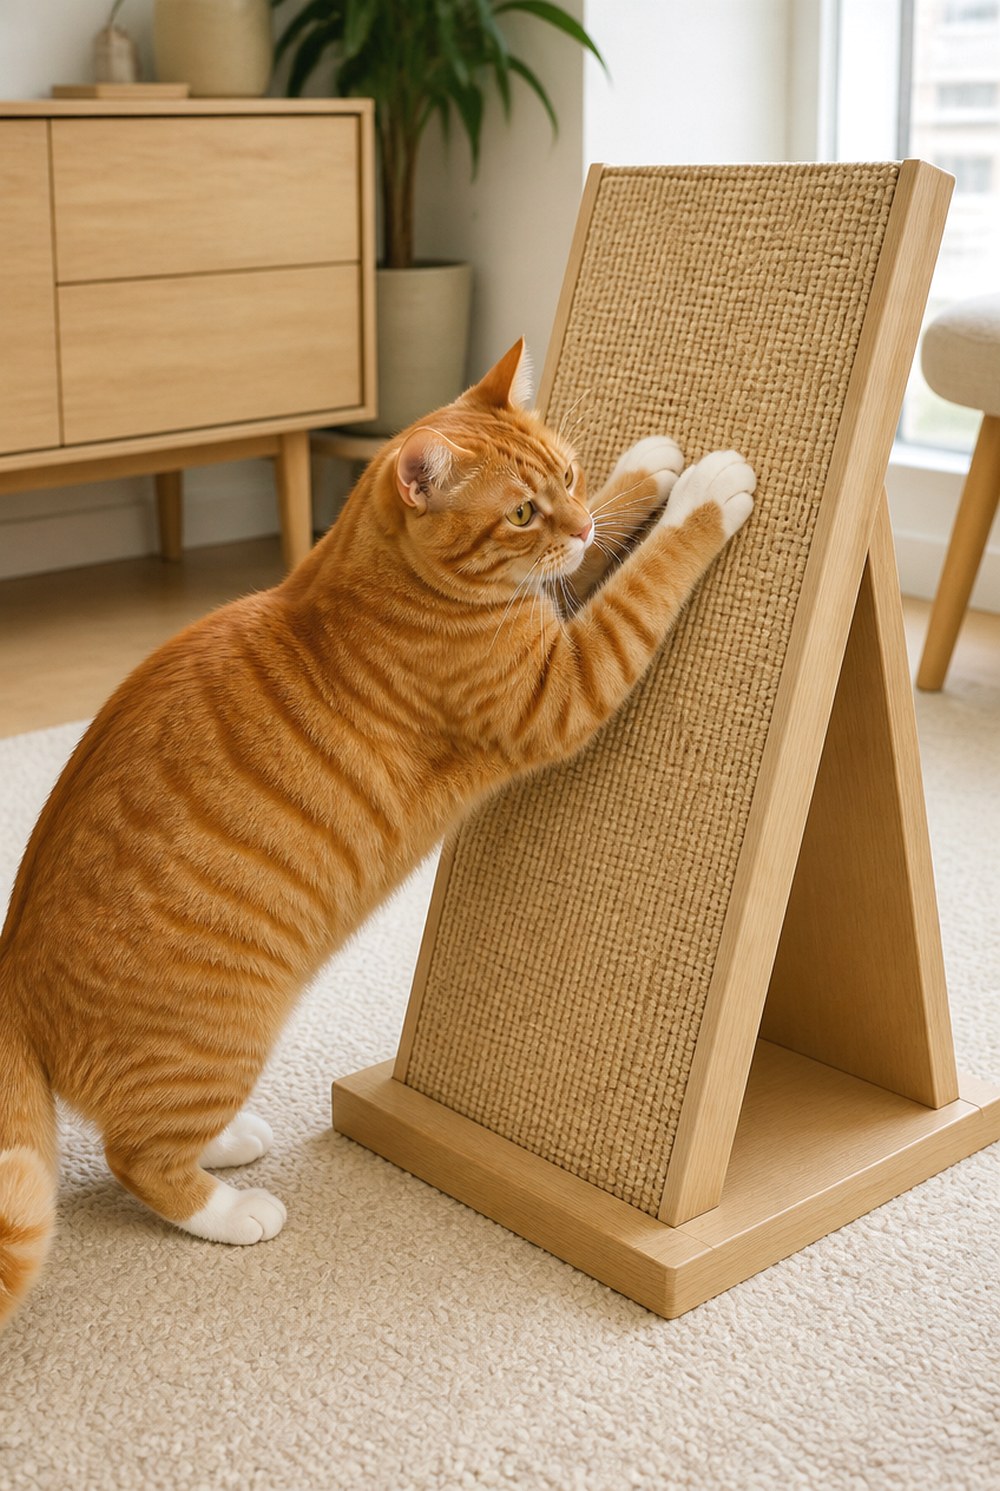
Join two rigid wood panels at the top to form a broad A-frame and cover one or both outside faces with sisal scratching material. A wide stance keeps the structure stable while giving the cat an angled surface on either side.
Unlike a vertical post, the A-frame allows the cat to lean its weight toward the scratcher while pulling. It also works well in open areas where a wall-mounted panel is not practical.
Use a rigid cross-support or another secure structural method so the frame cannot fold inward during use. Conceal hinges, screws, and other hardware from paws.
12. Dual-Surface L-Shaped Scratch Station
For a cat with no obvious preference, combine a horizontal and vertical surface in one stable station.
Build an L-shaped wood base with a flat scratching section on the floor and a taller upright section at the back. The horizontal area can hold replaceable corrugated cardboard while the vertical panel uses sisal.
The two materials make the differences obvious: cardboard provides a softer shreddable surface, while sisal gives stronger resistance during upright scratching. Because both are in the same location, you can observe which surface your cat returns to most often.
Keep the upright panel firmly braced to the base so pulling cannot collapse the joint.
You May Also Like


Make the Scratcher Worth Using
Construction is only half of the project. Put the new scratcher where scratching already makes sense to your cat: near a sleeping spot, beside a commonly targeted furniture edge, along a regular walking route, or close to a room where the household spends time.
Give the cat a chance to investigate without forcing its paws onto the surface. If one design receives little interest, the problem may be position, orientation, texture, or stability rather than the fact that it is homemade.
Regularly check DIY scratchers for wobbling bases, exposed fasteners, unraveling rope, sharp cardboard edges, splintered wood, or pieces small enough to be pulled free. Replace heavily damaged sections rather than waiting for the entire structure to fail.
Keep string, rope scraps, plastic packaging, staples, nails, blades, drill bits, sawdust, adhesives, and other building materials inaccessible during and after construction. Allow finishes or adhesives to cure fully according to their labels before returning the scratcher to your cat.
A good first project is the one closest to your cat’s current scratching style. Start with cardboard if your cat works at floor-level surfaces, a stable post or plank for an upward stretch, or the dual-surface station when you want to learn which orientation your cat prefers.
